Complete guide to seasoning your plough disc and getting the most out of it
Seasoning a plough disc is an essential step to make it last, improve the flavour of what you cook and stop food sticking. Whether you are a home cook who enjoys embers at weekends, a professional grill cook in hospitality or a lover of traditional Argentine cooking, mastering this process will make a difference to your results. In this guide you will find a clear, safe and effective method to season your plough disc and keep it in good condition.
Why is it important to season a plough disc?
Seasoning creates a protective layer that:
- Prevents the metal from rusting
- Creates a natural non-stick surface
- Improves heat transfer
- Gives a cleaner, more authentic flavour to what you cook
In addition, a well-seasoned disc is easier to clean and extends the life of the utensil, which matters especially in professional settings or with intensive use.
Before you start: what you need
Before you begin seasoning, make sure you have:
- Good-quality vegetable oil (sunflower, corn or a blend)
- Coarse salt
- Kitchen paper or a sturdy cloth
- Tongs or a long spatula
- A steady heat source: embers, a burner or an open hearth
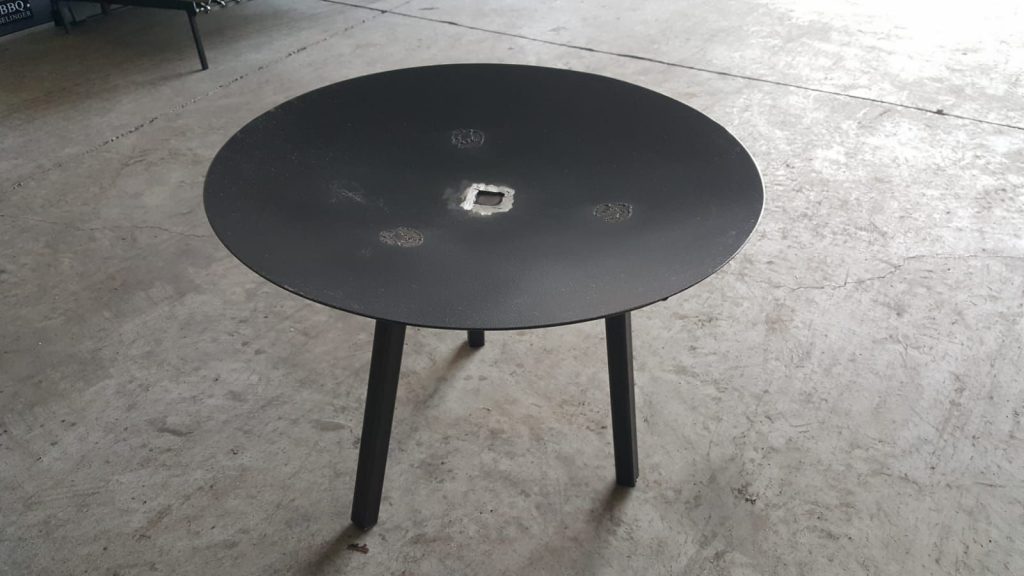
If your disc is new, like the models from Selinger Barbacoas, it will come with a protective factory coating that you must remove completely.
Step by step: how to season your plough disc properly
1. Deep initial clean
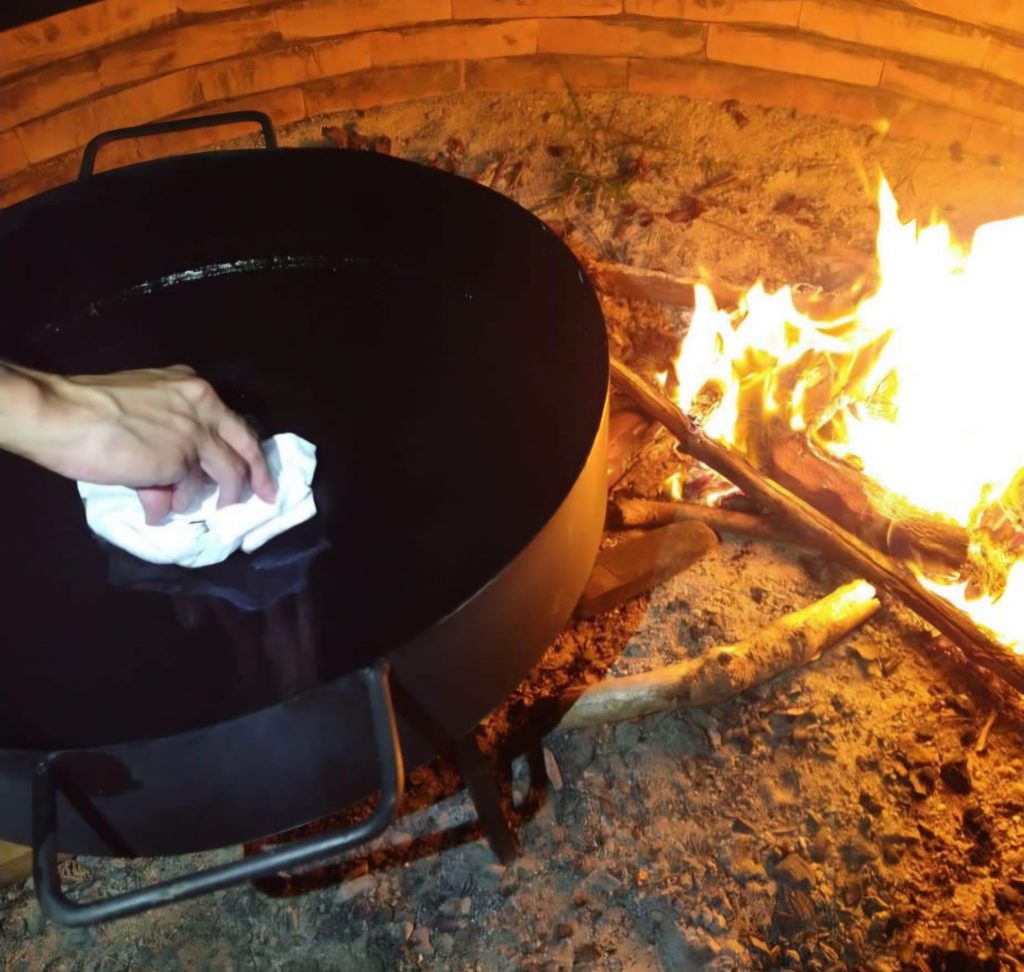
Remove any industrial grease or dust:
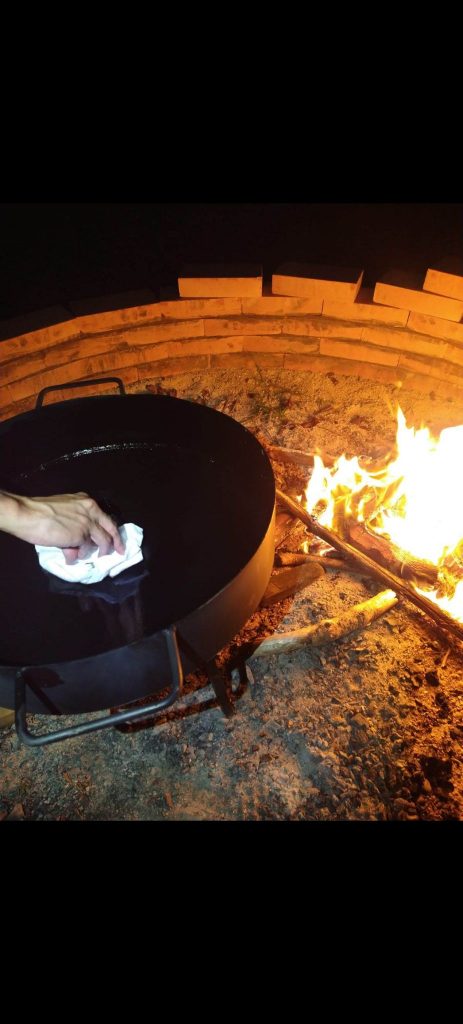
- Warm the disc slightly.
- Rub with coarse salt and a little oil.
- Wipe off the residue with paper or a cloth.
This step is key to getting the seasoning layer to bond evenly.
2. Gradual heating
Place the disc over the fire and let it come up to temperature gradually. The metal will change colour, which is normal and desirable. This helps open the pores of the steel so that it absorbs the oil better.
3. Applying the oil
With the disc good and hot:
- Add a splash of oil and spread it over the whole surface.
- Let the oil burn slightly until it forms a dark film.
Repeat this process 2 to 4 times to build a strong, even layer.
4. Final seal
When the disc has an even dark tone:
- Take it off the heat.
- Let it cool naturally.
- Apply a thin layer of oil to protect it until its next use.
This seal is what turns your disc into a tool ready to cook without sticking.
Professional tips for good seasoning
Controlling the fire
A common mistake is using too fierce a fire. The ideal is to work with medium-high, steady heat to avoid warping or uneven scorching.
Type of oil
Oils with a high smoke point work best. Avoid olive oil for the initial seasoning, as it burns too quickly.
Repeating the process
If you notice food sticking in the first few cooks, season it again. With use, the non-stick layer becomes more stable.
Maintenance after seasoning
To keep your disc in good condition:
- Always clean without harsh detergents.
- Dry it straight after washing.
- Store it with a thin layer of oil to prevent rust.
- Avoid leaving acidic foods in it for a long time, as they can damage the protective film.
This maintenance is especially important in professional settings where the disc is used every day.
Common mistakes when seasoning a plough disc
- Using too much oil in each layer
- Not heating enough before applying the oil
- Cooling the disc with cold water (risk of warping)
- Not removing the factory protective coating completely
Avoiding these mistakes will give you a longer-lasting, more effective seasoning.
In conclusion: a well-seasoned disc is an investment in flavour and performance
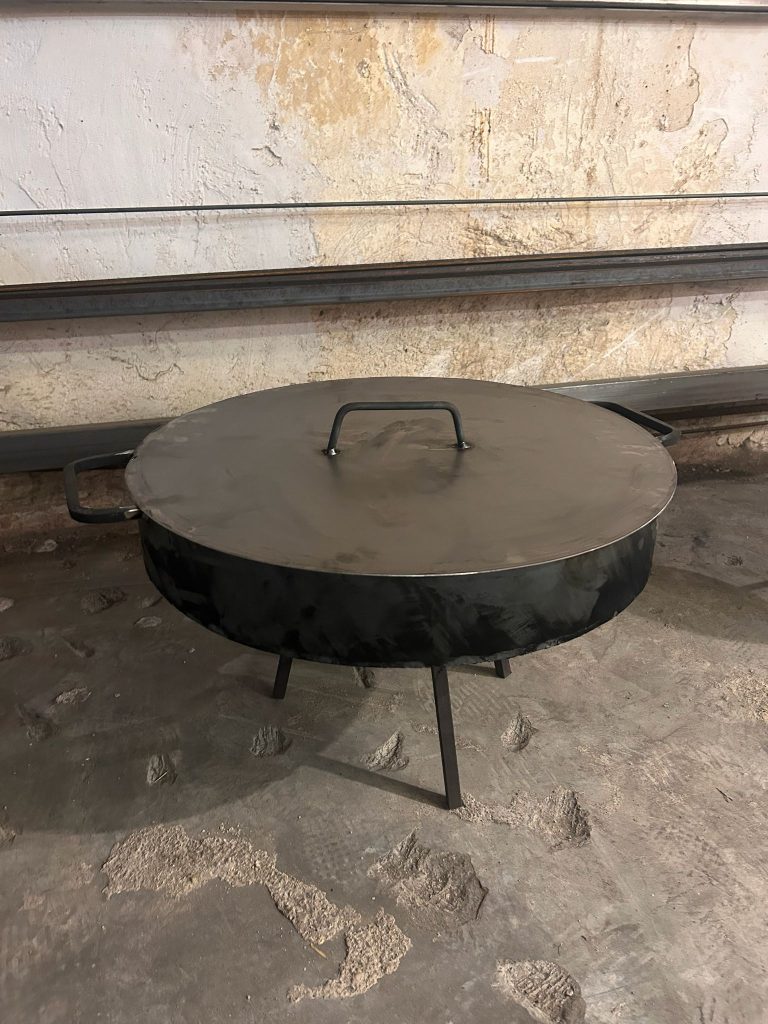
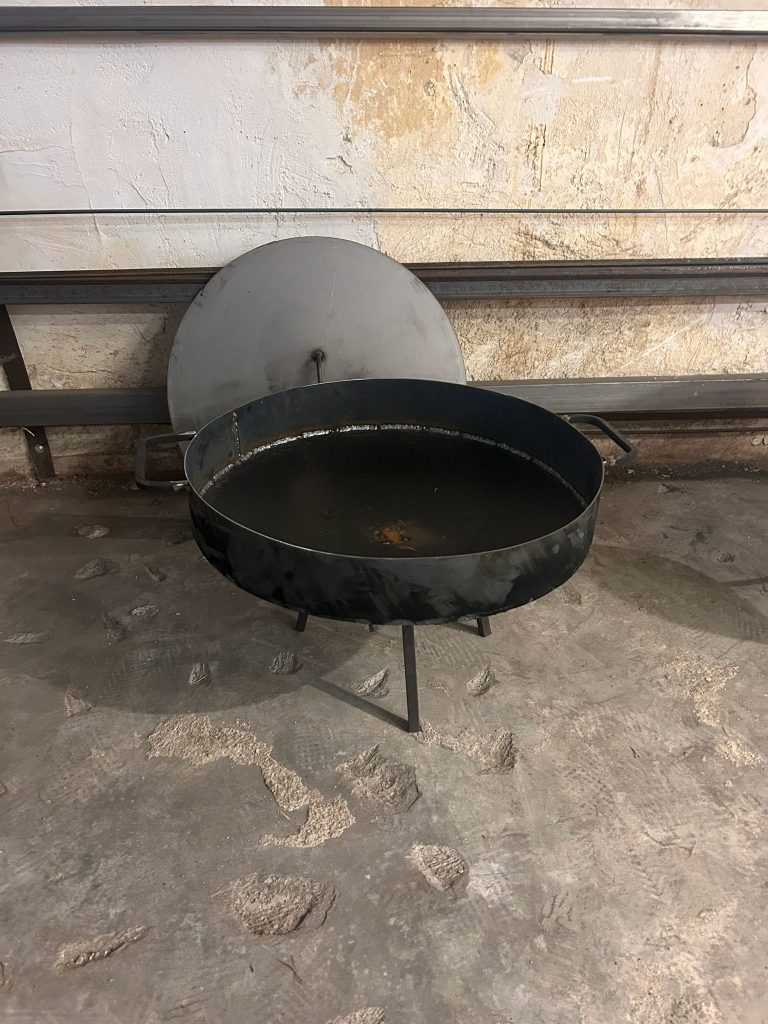
Seasoning your plough disc not only improves the quality of what you cook, it also gets the best out of the utensil, which matters for professional grill cooks and demanding enthusiasts alike. With good seasoning and proper maintenance, your disc – whether a traditional one or from specialist makers such as Selinger Barbacoas – will become a versatile, sturdy tool ready to go with you through every asado or embers cooking session.
If you want to take your fire cooking up a level, starting with good seasoning is the first step to excellent results.